


| Advanced Java Services | Connecting Apache - PHP - mySQL |


|
Die Installation und Verbindung von Apache, PHP und mySQL hat sich mittlerweile so vereinfacht, daß dem für
Windowssysteme verfügbaren Komplettpaket XAMPP nicht mehr die frühere Bedeutung zukommt. Dies ist der deutlich
verbesserten Installationsroutine von PHP zu verdanken. Wichtig ist bei der Einzelinstallation eigentlich nur
noch, daß PHP als letztes installiert wird. Die Installationsroutine von PHP macht mittlerweile
die Einträge in der Konfigurierungsdatei "httpd.conf" von Apache selbständig, zudem kann man bei der Installation
von PHP gleich angeben, daß die Module für mySQL mitinstalliert werden, dann macht die Installationsroutine
auch die notwendigen Einträge in die Konfigurierungsdatei "php.ini" .
Bei PHP und mySQL empfiehlt es sich übrigens nicht immer sofort die neuesten Releases zu installieren, oftmals enthalten
sie noch mehr oder minder lästige Fehler und man kann viel Zeit damit vertun, im Internet nach Workarounds zu suchen...
Die Installation ist in der Regel problemlos. Traditionsgemäß installiere ich Apache ins Verzeichnis "C:/Programme/Apache/Apachex" und Tomcat ins Verzeichnis "C:/Programme/Apache/Tomcatx" wobei x für die Versionsnummer steht, siehe Apache-Tomcat-Installation. Wer ein Installationsverzeichnis wählt in dem Leerzeichen vorkommen darf beim konfigurieren nicht vergessen, dieses Verzeichnis in Anführungszeichen zu setzen. Nach der Installation sollte die Eingabe von "http://localhost/" in die Adreßzeile eines Browser die Meldung "It works" bringen.

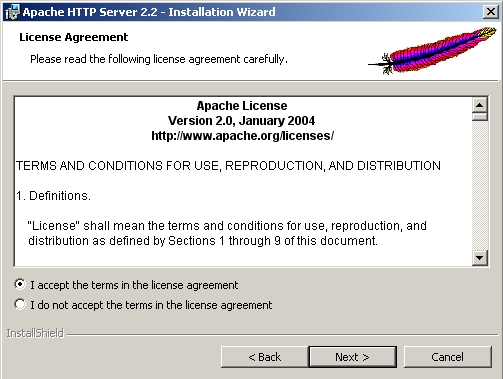
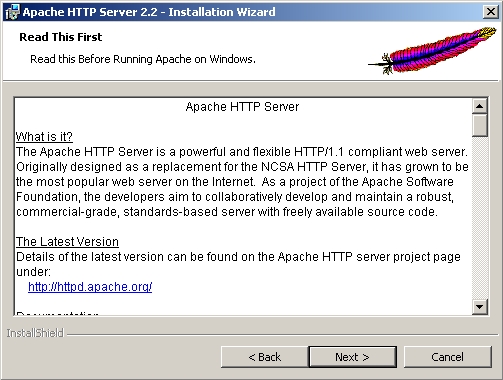
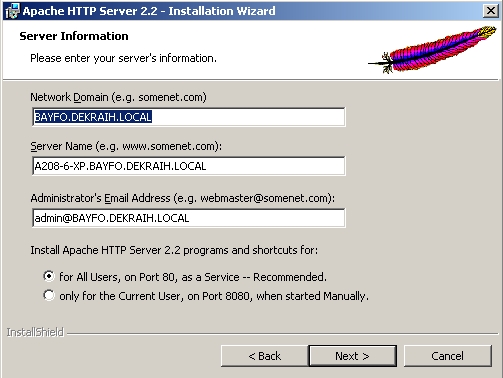
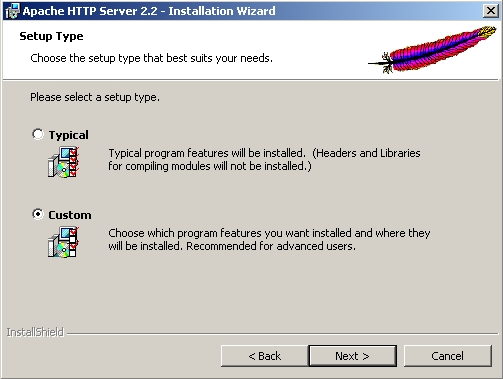
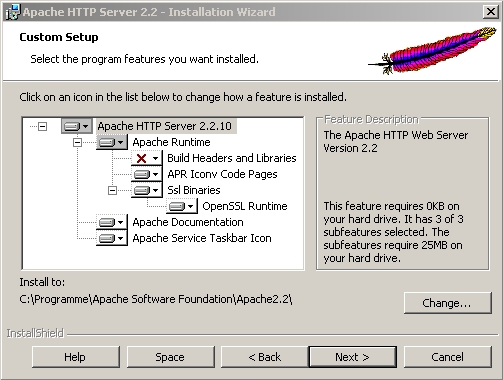
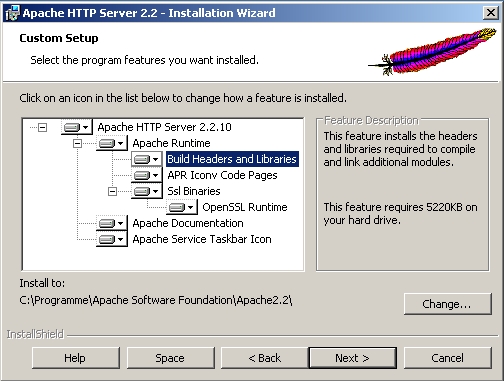
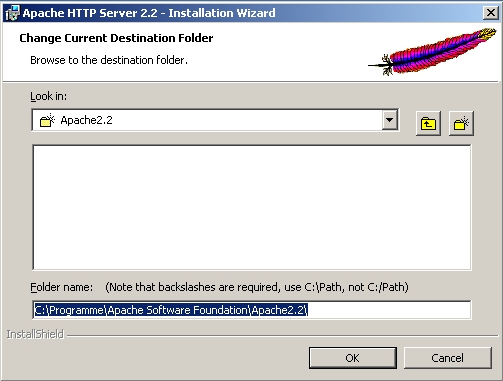
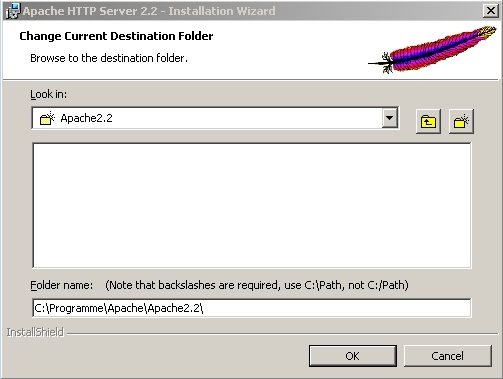
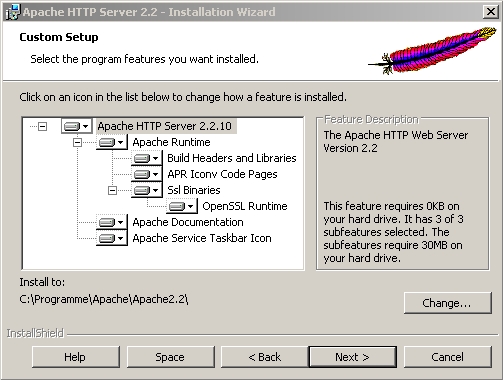
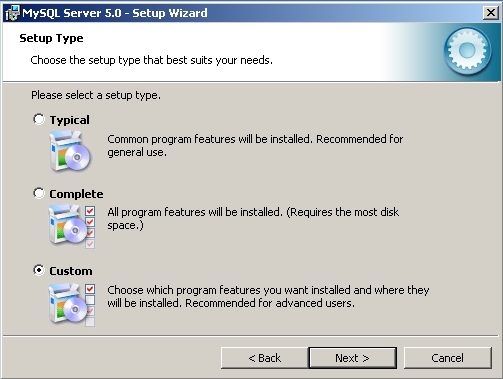
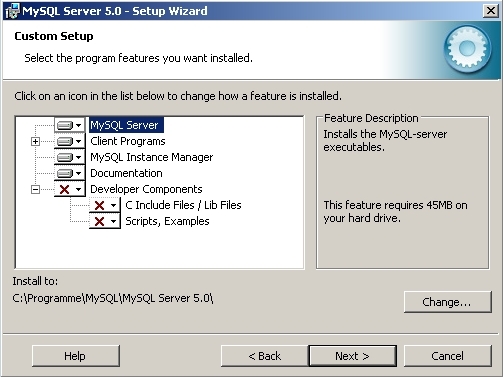
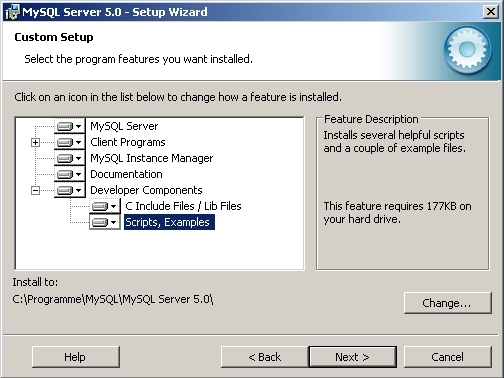
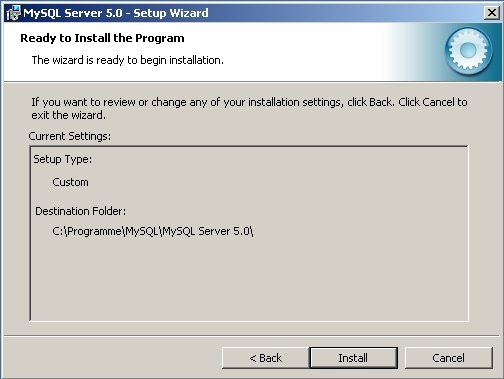
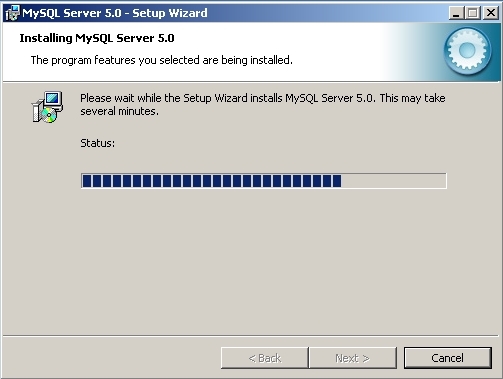
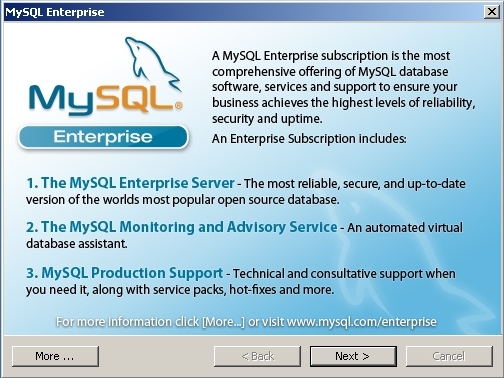
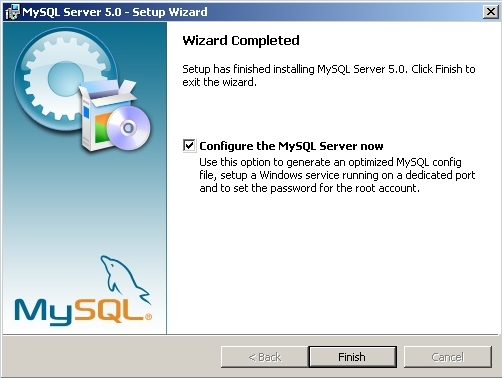
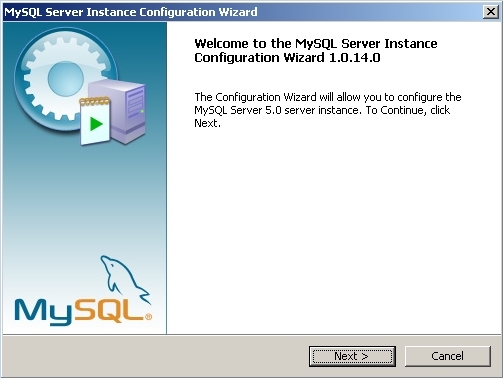
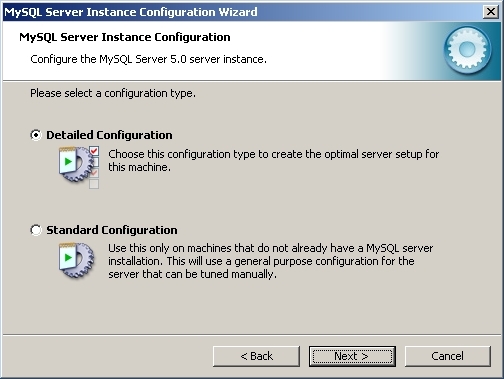
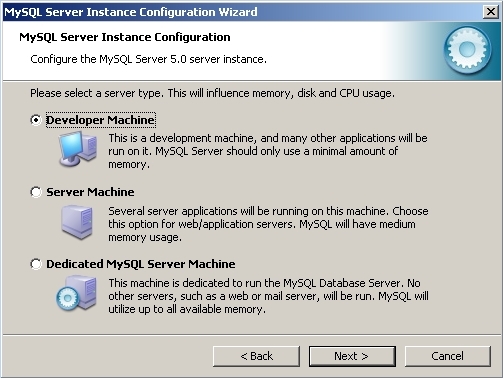
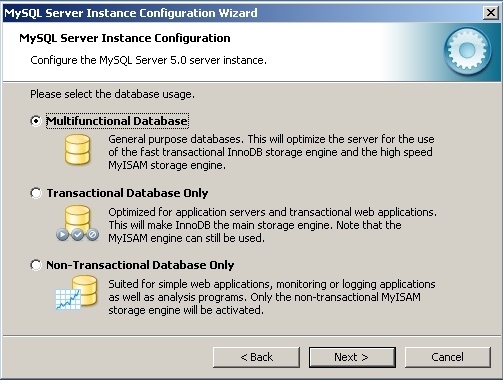
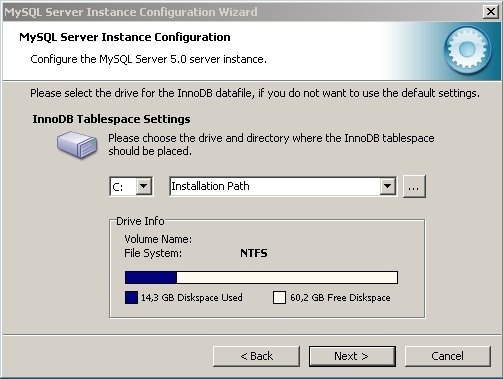
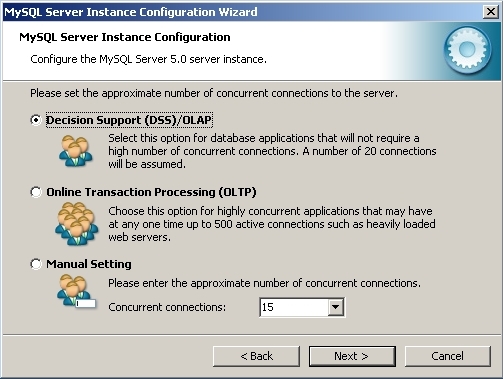
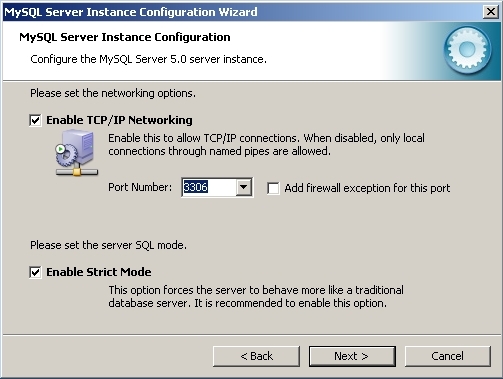
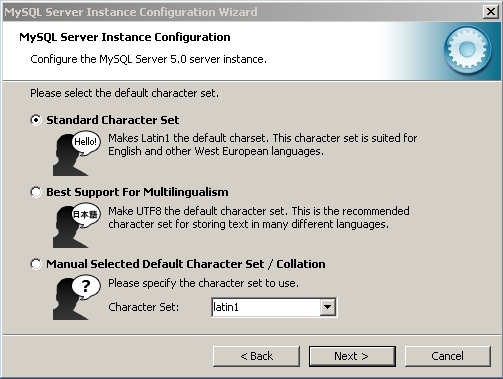
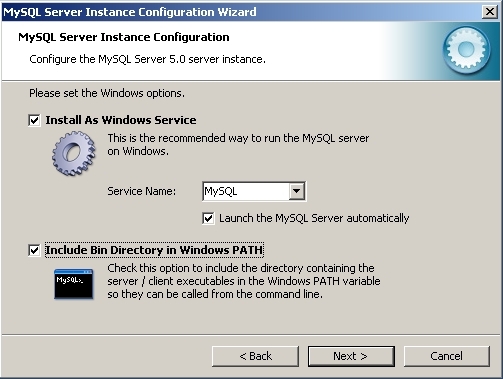
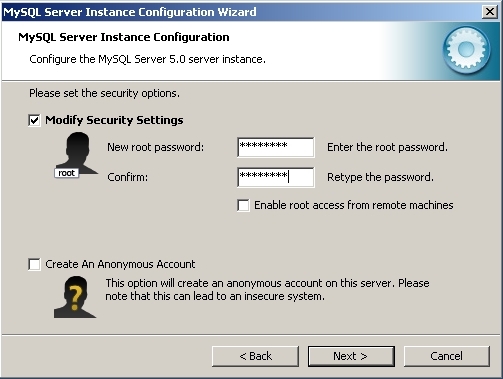
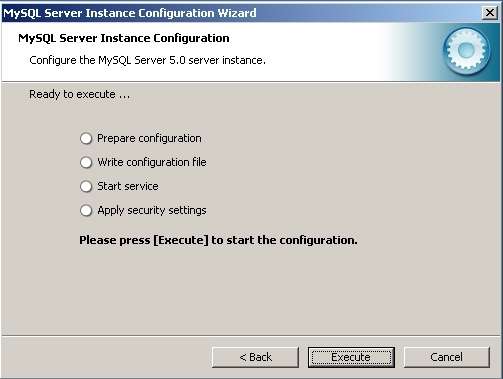
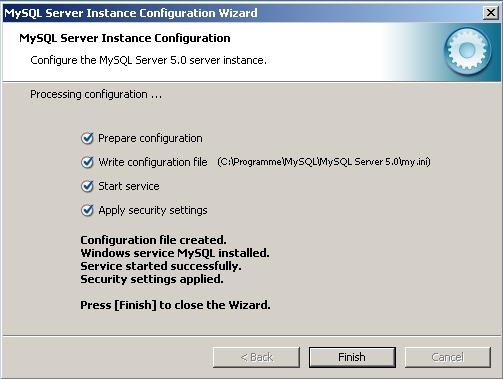
Als nächstes installieren wir mySQL. Wer auf die Datenbank mit C/C++ zugreifen will muß die C Include Files und die Lib Files mitinstallieren. Eine Installation der Examples schadet auf alle Fälle nicht. Man kann gleich im Anschluß an die Installation den Server konfigurieren (siehe die Screenshots).
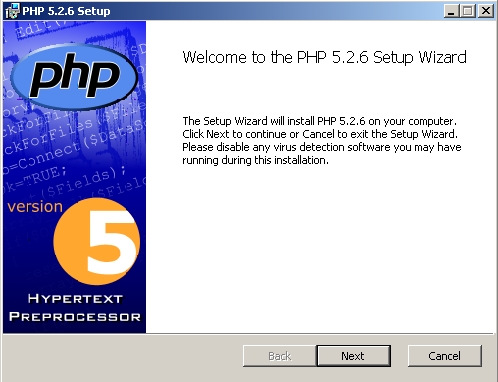
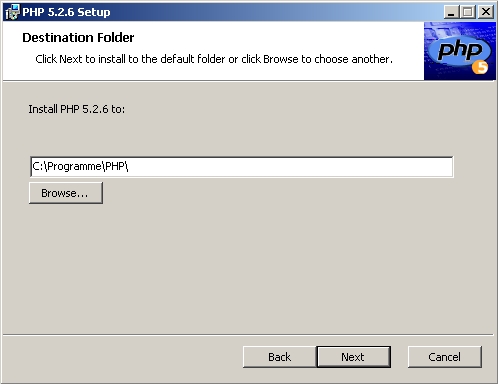
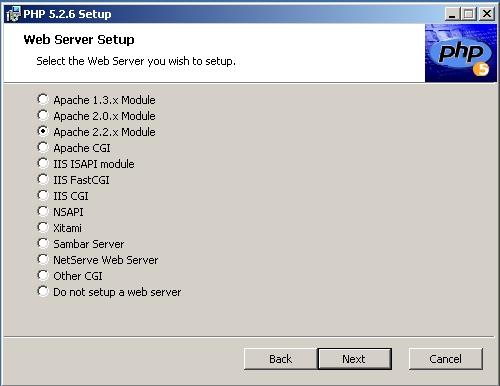
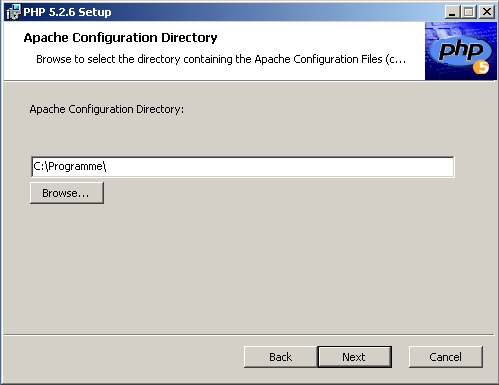
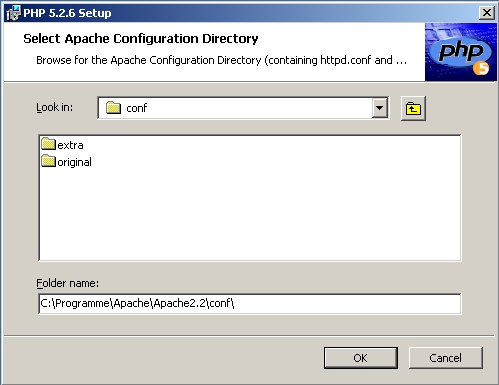
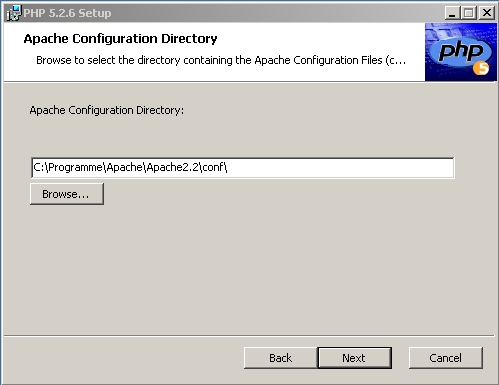
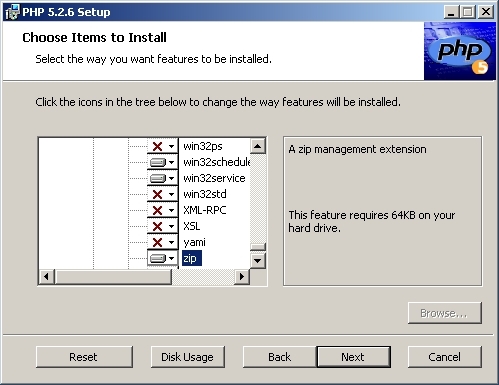
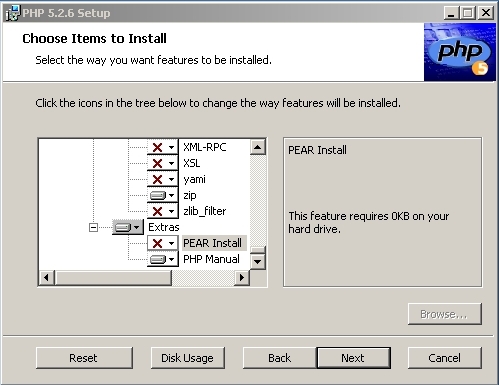
Als letztes installieren wir PHP. Die Installationsroutine von PHP ist mittlerweile deutlich mächtiger geworden. Im vierten Schritt wird ein "Web Server Setup" angeboten. Hier kann man aus einer Liste gängiger WebServer den passenden aussuchen. Für uns natürlich Apache. Anschließend kann man den Pfad zur Konfigurierungsdatei (in diesem Fall) "httpd.conf" anwählen. Im Schritt "Choose Items to install" findet man eine große Anzahl von Modulen die mitinstalliert werden können. Die Screenshots zeigen absichtlich eine reichere Ausstattung. Wir wählen "MySQL" und "MySQLi" um bequem auf die Datenbank zugreifen zu können. Des weiteren u.a. die Module "PHPDoc", "POP3", "Printer", "SMTP", "SOAP", "Sockets", "win32service", "zip" und natürlich das "PHP Manual".

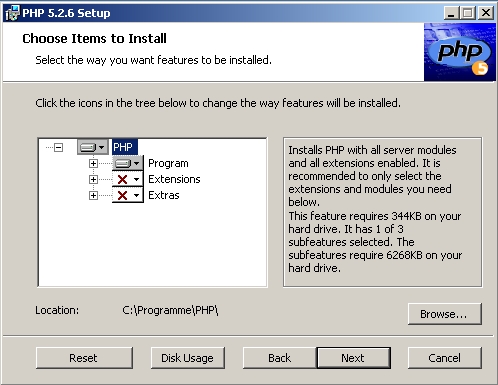
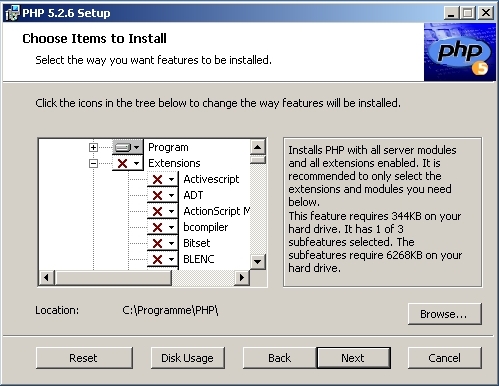

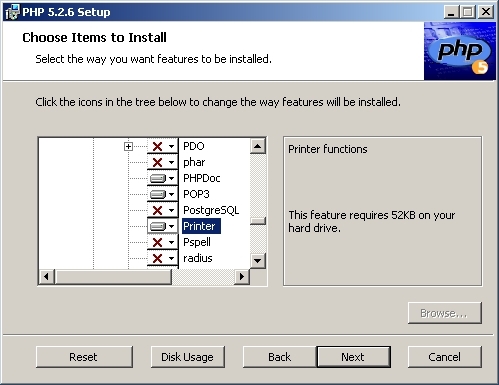
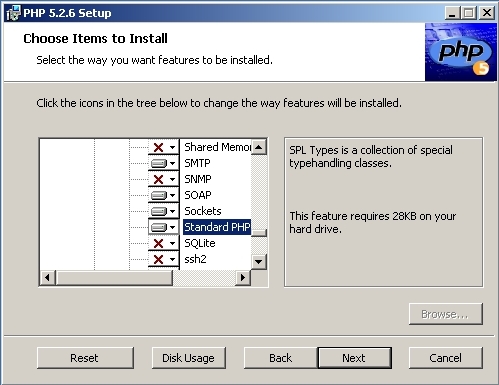

Man braucht mittlerweile nur noch einen Eintrag in die httpd.conf und den übernimmt die PHP-Installationsroutine. Der frühere LoadModule Eintrag entfällt.
#BEGIN PHP INSTALLER EDITS - REMOVE ONLY ON UNINSTALL
PHPIniDir "C:/Programme/PHP/"
LoadModule php5_module "C:/Programme/PHP/php5apache2_2.dll"
#END PHP INSTALLER EDITS - REMOVE ONLY ON UNINSTALL
Hier kann man den Zugang zu mySQL konfigurieren.
[MySQL]
; Allow or prevent persistent links.
mysql.allow_persistent = On

; Maximum number of persistent links.  -1 means no limit.
mysql.max_persistent = -1

; Maximum number of links (persistent + non-persistent).  -1 means no limit.
mysql.max_links = -1

; Default port number for mysql_connect().  If unset, mysql_connect() will use
; the $MYSQL_TCP_PORT or the mysql-tcp entry in /etc/services or the
; compile-time value defined MYSQL_PORT (in that order).  Win32 will only look
; at MYSQL_PORT.
mysql.default_port =

; Default socket name for local MySQL connects.  If empty, uses the built-in
; MySQL defaults.
mysql.default_socket =

; Default host for mysql_connect() (doesn't apply in safe mode).
mysql.default_host =

; Default user for mysql_connect() (doesn't apply in safe mode).
mysql.default_user =

; Default password for mysql_connect() (doesn't apply in safe mode).
; Note that this is generally a *bad* idea to store passwords in this file.
; *Any* user with PHP access can run 'echo get_cfg_var("mysql.default_password")
; and reveal this password!  And of course, any users with read access to this
; file will be able to reveal the password as well.
mysql.default_password =

; Maximum time (in seconds) for connect timeout. -1 means no limit
mysql.connect_timeout = 60

; Trace mode. When trace_mode is active (=On), warnings for table/index scans and
; SQL-Errors will be displayed.
mysql.trace_mode = Off

[MySQLi]

; Maximum number of links.  -1 means no limit.
mysqli.max_links = -1

; Default port number for mysqli_connect().  If unset, mysqli_connect() will use
; the $MYSQL_TCP_PORT or the mysql-tcp entry in /etc/services or the
; compile-time value defined MYSQL_PORT (in that order).  Win32 will only look
; at MYSQL_PORT.
mysqli.default_port = 3306

; Default socket name for local MySQL connects.  If empty, uses the built-in
; MySQL defaults.
mysqli.default_socket =

; Default host for mysql_connect() (doesn't apply in safe mode).
mysqli.default_host =

; Default user for mysql_connect() (doesn't apply in safe mode).
mysqli.default_user =

; Default password for mysqli_connect() (doesn't apply in safe mode).
; Note that this is generally a *bad* idea to store passwords in this file.
; *Any* user with PHP access can run 'echo get_cfg_var("mysqli.default_pw")
; and reveal this password!  And of course, any users with read access to this
; file will be able to reveal the password as well.
mysqli.default_pw =

; Allow or prevent reconnect
mysqli.reconnect = Off

[mSQL]
; Allow or prevent persistent links.
msql.allow_persistent = On

; Maximum number of persistent links.  -1 means no limit.
msql.max_persistent = -1

; Maximum number of links (persistent+non persistent).  -1 means no limit.
msql.max_links = -1
Am Ende der php.ini finden wir die Einträge zum Laden der verschiedenen bei der Installation angegebenen Module.
[PHP_MYSQL]
extension=php_mysql.dll
[PHP_MYSQLI]
extension=php_mysqli.dll
[PHP_SOAP]
extension=php_soap.dll
[PHP_SOCKETS]
extension=php_sockets.dll
[PHP_ZIP]
extension=php_zip.dll
[PHP_POP3]
extension=php_pop3.dll
[PHP_SMTP]
extension=php_smtp.dll
[PHP_SPL_TYPES]
extension=php_spl_types.dll
[PHP_WIN32SERVICE]
extension=php_win32service.dll
<html>
<body>
<h1>PHP works!</h1>

<?php
    // Show all information, defaults to INFO_ALL
    phpinfo();
    // Show just the module information.
    // phpinfo(8) yields identical results.
    //phpinfo(INFO_MODULES);
?>

</body>
</html>
<html>
<head>
<title>ConnectTest</title>
</head>
<body>
<h1>PHP works!</h1>

<?php
    $conn = mysql_connect('localhost', 'root', 'root');
    if (!$conn)
    {
        die('keine Verbindung möglich: ' . mysql_error());
    }
    else
    {
       echo '<h1>Verbindung erfolgreich aufgebaut</h1><br>';
       mysql_close($conn);
       echo '<h2>Verbindung geschlossen</h2>';
    }
?>

</body>
</html>
|
|


|